
Online Seedvr
Seedvr · Online image upscaler

Upscale still images online with SeedVR2

A direct handoff to Synexa’s image-only SeedVR2 model

This page does not accept uploads or prompts. Sign in at the destination, select a JPG, PNG, or WebP image (up to 10 MB), then choose a 1–10× factor or target resolution. Processing uses credits and returns an image.

Examples of still-image sources to prepare before visiting Synexa

Close-up natural-light portrait with softly focused details and a calm studio background.
Portrait photo
Minimal product photograph of a glass skincare bottle against a warm neutral backdrop.
Product photo
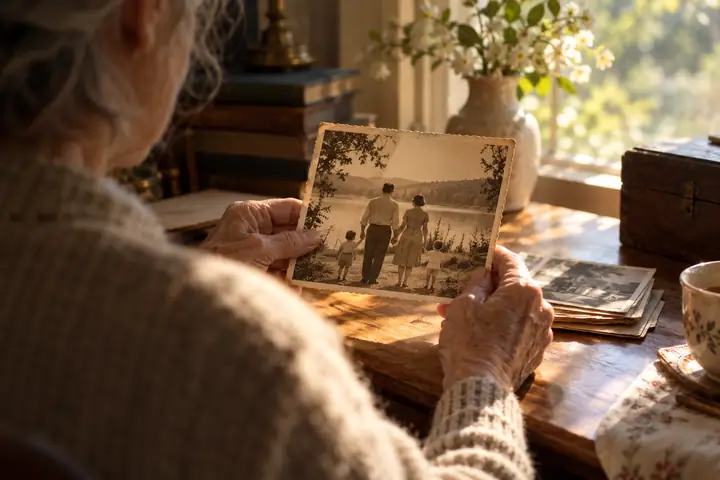
Carefully preserved vintage family photograph resting on a desk in gentle window light.
Archive scan

The linked route cannot accept a video clip or produce a video. Check the displayed credit cost before running an image.

Explore image workflows
Image-only hosted model Compare the result with your original No uploads or prompts on this page
The linked model accepts JPG, PNG, and WebP images up to 10 MB; it does not process video.
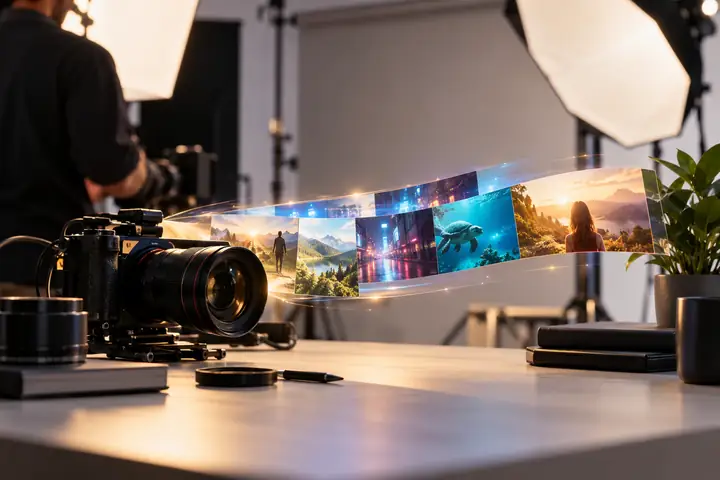
Sharpened camera-and-product scene shown after image enhancement. Soft camera-and-product scene shown before image enhancement. Before After
An internal-library comparison scene, not customer media or an independently audited provider benchmark.

Photographic before / after

Compare the same scene before and after enhancement

Move the slider across the same camera-and-product scene to inspect its softer and sharper versions. This example illustrates what to look for without presenting a customer result as a guarantee.

Scene
Same setup
Comparison
Side by side
Slider
Adjustable
Asset origin
Internal library

Image upscaling

Start with a local image, then choose the appropriate settings on the provider’s site.

Inspect the details

Look closely at edges, texture, text, and faces rather than judging an image from its thumbnail.

Choose the job first

Choose an image upscaling workflow

Start with a representative still image. The linked Synexa model accepts an image, not a clip or batch video job; compare its image output before planning more work.

Prepare complete image sets

Pick one representative product shot or reference image before preparing a larger collection; run images individually on the linked route.

Separate video from image processing

Video restoration needs a different, video-capable workflow. This image-only link cannot accept clips or check motion.

Check the terms before running

Sign in to Synexa, confirm available credits and the displayed charge, then choose a scale factor or target resolution before running.

One image at a time

The simplest way to inspect detail, compare versions, and decide whether the finish suits your source.

PortraitsProductsArchives

A useful first test

Pick an image with one difficult area—hair, lettering, fine fabric, or a distant face—and check that area at full size.

  • Keep your original file
  • Compare at the same zoom
  • Inspect natural texture
Open image upscaler

Upload and processing happen on the provider’s site.

Using a video frame as an image

You can export a still frame as a JPG, PNG, or WebP and upscale that image. This does not upscale the clip or preserve motion.

Saved frameImage detailStill output

What to examine

Choose a representative still frame, save it as a supported image under 10 MB, then inspect the returned image at full size.

  • Compare faces in the source and result
  • Inspect edges for halos
  • Keep the original frame as reference
Open image upscaler

This link processes images only, not a video timeline.

A larger workflow

For many images, first test one representative source and note the factor or target resolution. Batch processing is not promised by this link.

CollectionsDeliveryReview

A sensible review sequence

Agree on one representative example, record the desired output, and check the provider’s current limits before starting a collection.

  • Identify the source formats
  • Set a consistent review standard
  • Confirm delivery requirements
Explore the workflow

Run images individually unless Synexa offers a separate batch feature.

Your original stays under your control until you upload it.

Review provider terms before starting a job.

Use a small test to judge suitability.

Cloud workflow

Working around local GPU setup?

A hosted workflow can be an alternative to configuring local drivers and dependencies. Check the provider’s actual requirements before you begin.

Explore hosted upscaling

Match the method to the source

Video settings require a different tool

For soft footage, inspect whether fine detail improves without looking artificial.

For compressed footage, compare difficult frames and motion between them.

For video delivery, find a separate video-capable provider; this link returns an image.

Production workflow

Plan repeatable restoration for production teams

For a collection of images, start with a representative still. Video processing requires a separate workflow and is not available through this CTA.

Choose one representative source file

Define the review and delivery window

Record format and output requirements

Set a quality standard before the full set

A sample helps reveal source-specific limitations. Confirm any larger-workflow availability directly with the provider.

Explore production upscaling

No file is uploaded from this page.

Prepare your job before you continue

This checklist is for planning, not a processing estimate. The provider shows its current settings and terms when you submit.

Source-first checklist

Keep a reference copy

Save the original and note the detail that matters most. Comparing the same crop at the same zoom makes the result easier to judge.

Creator workflows

How creators review image and video restoration

The linked SeedVR2 route supports still images. Video examples below describe separate workflows that need a video-capable tool.

Individual images

Portrait and product work

A close look at one source image helps reveal whether edges, textures, and fine details stay natural after enlargement.

Photographer reviewing a detailed portrait on a large monitor in a bright creative studio.
Image review · inspect at full size

Video restoration

Motion and compression

A representative video segment lets an editor assess changing detail and movement before considering a complete export.

Video editor examining a city-at-dusk sequence on a professional monitor in a quiet editing room.
Video review · watch the motion

Difficult footage

Source-first decisions

For older or heavily compressed material, setting realistic expectations is part of a useful restoration workflow.

Restoration specialist studying an archival film frame at a desk with subdued cinematic lighting.
Archive review · preserve the source

Choose the workflow that fits the job

Clear choices before you process a file

The linked model upscales still images. Video motion checks belong to a separate video-capable workflow.

Image output

Detail

Inspect portraits, product shots, and reference frames at their intended viewing size.

Separate video delivery

Motion

Look beyond a single frame and judge how detail behaves while the clip plays.

Focused workflow

Source

Choose a representative file and establish a clear quality standard first.

One source, one careful review

One photo in, an enhanced image out

Begin with a still image and compare its important details after processing. Keep your original beside the result, and check the provider’s available output settings before you submit.

For phone, cartoon, or archival footage, choose a workflow appropriate to that source instead.

Source

Keep the original file

Review

Check the finished detail

Decide

Choose the next step

Restore a photo

Start with a portrait, product shot, screenshot, or reference image. Compare the result with the source at the same size.

Open image upscaler

A frame from video

Save one frame as a supported image and compare still-image detail. This is not a video upscaling test.

Open image upscaler

Illustration and screenshots

Review line art, text, and flat colors on a still image before choosing a scale.

Explore image settings

Seedvr FAQ

Common questions about image and video upscaling

What is Seedvr?

Seedvr is a guide to preparing image and video upscaling work. This page helps you choose a source and review a result; processing takes place with the linked provider.

Why separate image and video workflows?

An image can be judged at one zoom level. Video needs a separate tool and a check for motion and consistency; the linked route processes images only.

What should I use for still images?

Start with an image-oriented workflow for portraits, product shots, screenshots, and reference frames. Check available settings with the provider.

Can this link upscale blurry videos?

No. It accepts still images only. You can upscale a saved frame as an image, but a video-capable tool is needed for a clip and motion review.

When should I compare another setting?

Compare settings when a representative test does not improve the difficult parts of your source, or when it introduces unnatural texture or halos.

What files can I upload at the linked route?

Synexa’s SeedVR2 image input accepts JPG, PNG, and WebP up to 10 MB. Upload at Synexa after signing in, not on this page; the result is an image.

How do I check the cost of a job?

Review the provider’s current terms and the amount shown before submitting. This static page does not calculate or collect payment.

Does the image tool turn video frames into a clip?

No. It returns a still image. Extracting a frame does not provide a video output or temporal consistency; use a separate video workflow for footage.

What if a browser issue interrupts my job?

Check the provider’s job history or support guidance before submitting the same file again. This page cannot see or restart a processing job.

How long do jobs usually take?

Processing depends on the source, selected settings, and provider availability. Use any estimate displayed by the provider for your particular job.

Is Seedvr an upscaling service?

Seedvr is an independent informational page. The linked provider handles file uploads, processing, and delivery under its own terms.

What should I do with the original file?

Keep it. The original provides a reliable reference when you compare detail, evaluate artifacts, or try a different approach.

Video topics are separate from this image upscaler

AI video upscaling in a browser

A separate video-capable tool is needed to process a clip and assess motion.

A representative video test

Choose the section most likely to reveal compression or unstable detail.

Higher-resolution delivery

The linked route offers image output, not video delivery; check other tools separately.

Soft or compressed clips

Compare the original and result for artifacts as well as apparent sharpness.

Family and archive footage

Preserve the best source and test one scene before working through a collection.

Older tape captures

Check the capture itself before deciding how much enhancement is useful.

Anime and game recordings

Inspect line art, subtitles, flat colors, and consistency during movement.

Cloud or local workflow

Compare setup, privacy needs, and available hardware before choosing.

Seedvr upscaling guides

Restore old video for modern screens

Choose a good source copy, test a short section, and inspect the finished footage rather than relying on a preview frame.

Understanding video restoration

Learn why compression, softness, motion, and source quality need different kinds of attention.

Image restoration or video enhancement?

Pick a workflow that fits the medium and the detail you need to preserve.

Hosted upscaling or local setup?

Consider hardware, configuration time, and the provider’s terms before deciding where to process your file.

Latest upscaling articles

Practical notes on source preparation, image detail, video motion, and reviewing the finished output.

Ready to upscale a still image? Open the image upscaler

Colorful illustrated scene used as a visual example for batch image upscaling.
Batch workflow

Upscale a folder of photos consistently

Prepare files and choose one representative image before working through a collection.

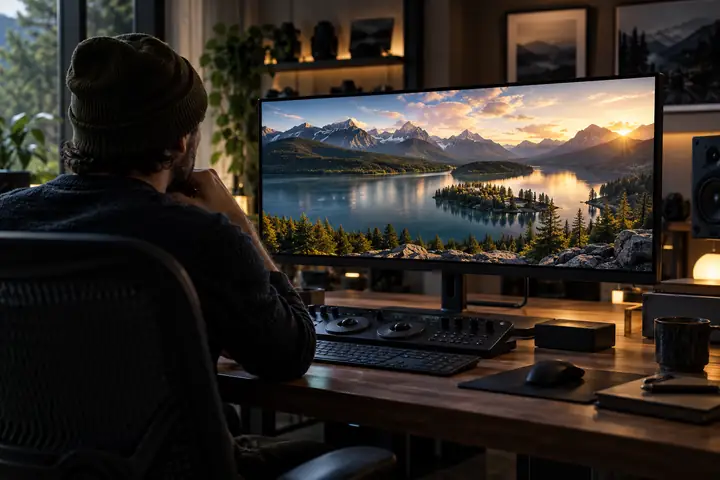
Modern video editing workstation with a monitor showing detailed landscape footage in a calm studio.
Workflow choices

Cloud or desktop video upscaling?

Compare setup, available hardware, and the practical needs of your footage.

Smartphone displaying a softly compressed travel video beside a laptop in natural daylight.
Video cleanup

What compressed video can recover

Understand what an enhancement test may improve and what the source has already lost.

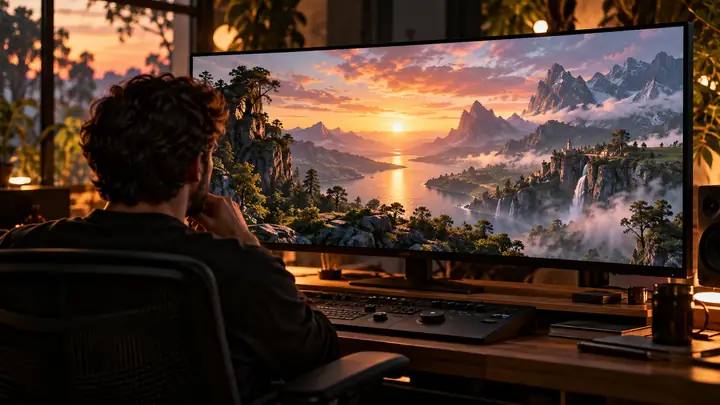
Film editor reviewing a luminous animated landscape frame on a widescreen display.
Video detail

Review artifacts in generated video

Check edges and movement before committing to a larger output.

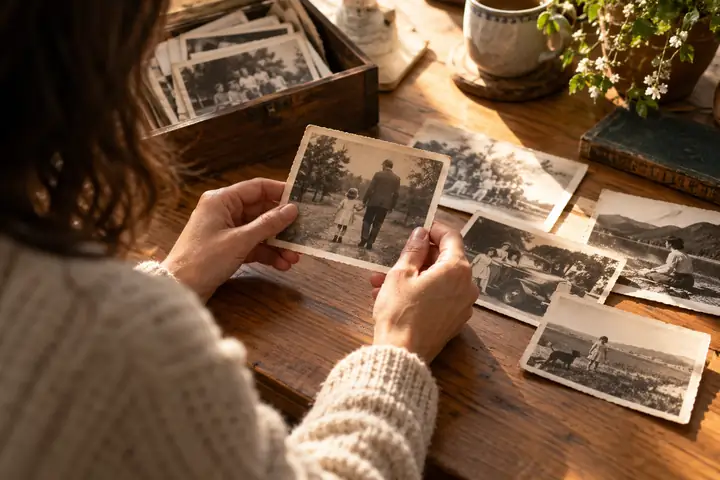
Small collection of aged family photographs being examined on a bright wooden tabletop.
Photo restoration

Start an old-photo restoration

Find the best scan and inspect a modest first enhancement.

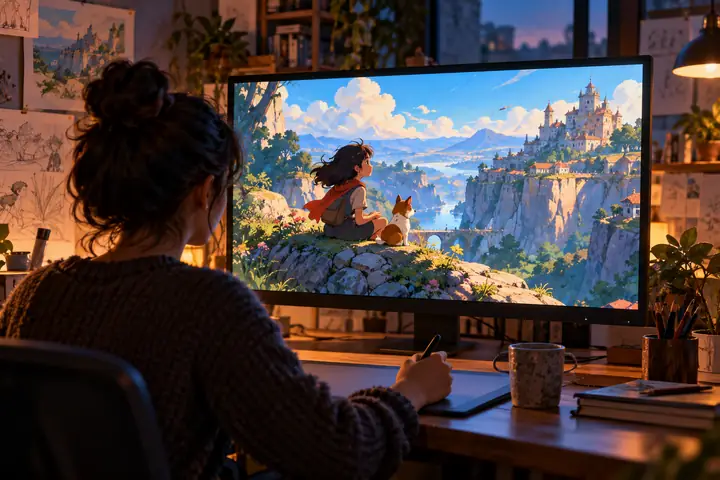
Vibrant hand-drawn animation frame displayed on an editor's monitor in a softly lit workspace.
Animation

Upscaling anime and game recordings

Watch line art, flat colors, subtitles, and moving details.

Clean ecommerce product photography setup with small objects, softboxes, and neutral backdrops.
Product images

Prepare sharper product photographs

Keep edges legible and colors consistent across a listing.

Start with one photo before choosing a larger workflow

Sign in at Synexa, select a JPG, PNG, or WebP image up to 10 MB, and choose a 1–10× factor or target resolution. Review the displayed credit cost and compare the returned image with your original.

Open image upscaler
Open image upscaler
Open image upscaler